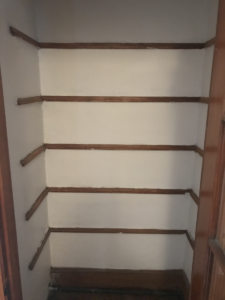
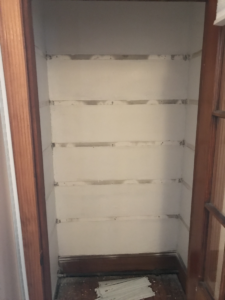
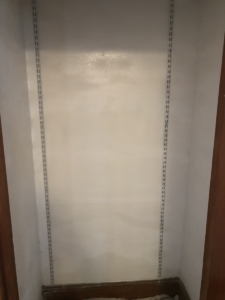
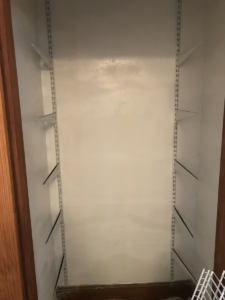
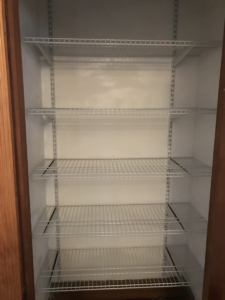
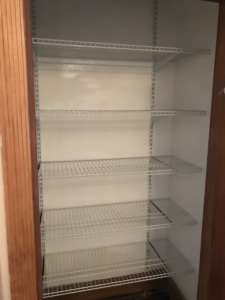
In this photo, you can see the outdated wooden shelves that had a decorative paper wrapped around them. I started by pushing up on the shelves, which were nailed to the support pieces. With a little force, they popped right up. Here, you can see the wooden support pieces for the shelves. I carefully removed these to avoid damaging the plaster. Despite my best efforts, the wall got torn up a bit and I applied some hot mud (quick drying joint compound) then used my paint sprayer to spray over the mud and make the closet look fresher. I located the studs and mounted the shelf tracks. The tracks came in 84″ lengths, which was perfect for this project because that length can accommodate 5 shelves, which is exactly how many the customer wanted! I didn’t have to trim the track at all. In the right photo, you can see the shelf brackets which hook into the tracks. Here is the finished product. They came out great and the customer was very pleased! Thanks for reading! I hope you enjoyed learning about this project. If you have any questions about this project or if you need help with a similar project, feel free to reach out to me!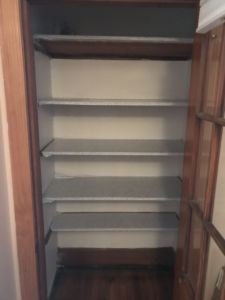
Updating Your Closet Shelves was last modified: June 10th, 2025 by
Categories:
