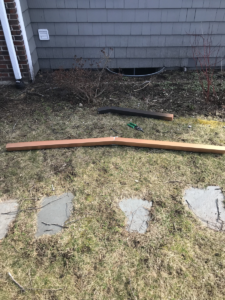
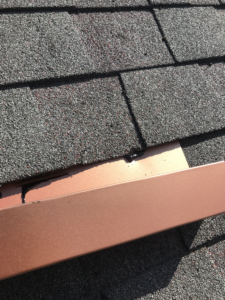
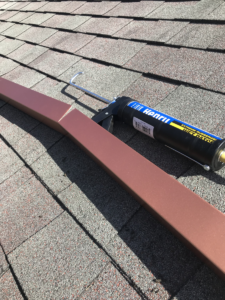
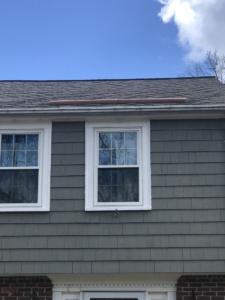
Plain and simple, a rain diverter acts similarly to your gutters and directs the flow of rain away from an area. A front or back door is a prime example where you may want one installed and this was exactly the case on this project. The customer didn’t want to be drenched during a rainstorm as they entered or left their house. Rain hits the ridgeline of the roof then builds up as it flows down the slope and causes a large amount to drip from the roof edge (sometimes overflowing your gutter if there is a blockage in your downspout). There are a couple of ways to make a diverter. In this case, the customer wanted a V shape with rain flow being directed on either side away from the front door. They requested a copper diverter. However, rain picks up a chemical from copper and over time will cause corrosion of aluminum flashing on your house. Luckily, Home Depot carries a copper finish spray paint, which provided the look they wanted without the damage! The aluminum couldn’t be bent, so I used my tin snips to cut the back and front hem of the aluminum then angled each piece to form a V. For the diverter to function properly, it must be attached to the roof underneath a row of shingles. I used a pry bar to carefully lift a row that was about three courses up from the roof edge. I then slid the diverter underneath and using 1-1/4″ roofing nails, hammered in two nails on either leg of the diverter. Here I am using a waterproof roofing sealant to plug the nail holes so rain doesn’t seep into them. This is the most important step. I also put a few daps underneath the lifted shingles to adhere them to the top of the diverter. Not only does it help to keep rainwater from pouring over their front door, but it is a nice accent piece! I hope you enjoyed learning about this project. If you are interested in having a rain diverter installed on your home, click the button below! Thanks for reading, -Matt the handyman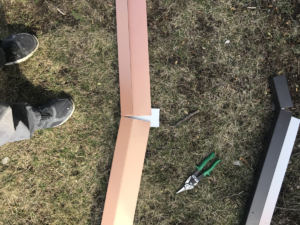
Installing A Rain Diverter That Looks Dapper was last modified: June 10th, 2025 by
Categories:
