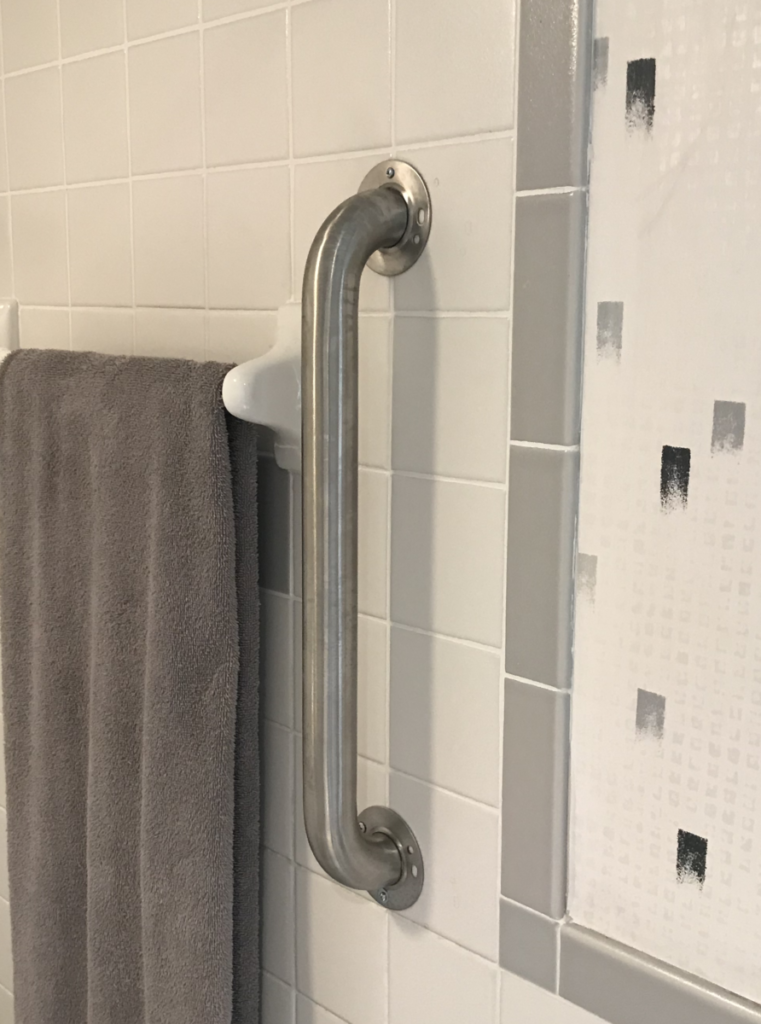
Shower safety bar installation is a relatively easy project. However, it can get a little tricky when the shower is finished with ceramic tile. When drilling holes for the mounting hardware the last thing you want to happen is to put a crack in the tile! This would be a costly mistake and would involve having to replace the cracked piece of tile or several depending on the extent of the damage. Luckily, there are ceramic tile drill bits that you can pick up at The Home Depot, a town over. I recently completed this shower safety bar installation a few weeks ago for a client in Lynnfield, MA. They lived in the Pilling’s Pond area. I was happy to help and the breeze from the pond was especially nice on that 90-degree day! I first unboxed the safety bar and laid the pieces out. From what I’ve found, the drywall anchors that come with the package are flimsy and not sufficient for a long-term hold. I always try to find a stud and if not, use my own heavier duty anchors. A few months ago I picked up a simple, but great stud finder. I love using it! All it is is a strong magnet that you run in a zigzag pattern against the wall. The magnet picks up the screws that are holding the drywall to the studs. .What a great idea! You’ll feel a small pull when you’ve located a screw. I like to wave the magnet above and below the screw I found to locate a couple more screws, which confirms the vertical stud. Typically, studs are installed 16″ on center (OC) and for most homes, that is a good rule of thumb when you’re hanging something on the wall. This particular Lynnfield resident had a tiled shower, which looked great to mention! However, the magnet wasn’t strong enough to pick up the screws beyond the tile. What to do from there? Well, pick a corner (best corner is the one closest to where you will be putting the safety bar). Next, measure out from the corner in 16″ increments until you reach the area where the safety bar will be installed. If the original spot you intended to put the safety bar was a few inches from where you located the stud, I’d recommend adjusting the safety bar to be where the stud is to maximize its holding power. A combination of screws in studs and drywall anchors is the best method. The flanges at the safety bar ends are usually wider than the thickness of the stud so I would recommend centering the safety bar on the stud (which will be, give or take, the mark you made from measuring 16″ OC). Another tip, if possible, would be to align the center of the safety bar on the grout lines. Grout is easier to drill into than tile and there is less risk of damaging the tile. If the only option is to drill into the tile, that is fine. Mark the holes of the safety bar with a pencil. Load the tile bit into the chuck of your drill (make sure the tile bit size will leave a hole large enough for the screw to get through. I would recommend driving over to the Reading Home Depot and buying a 4 piece tile bit set. Bosch has a nice set of bits that hold up for years. The reason for buying a set is to have a smaller size for just screws drilling into the stud and a larger size for when you don’t have access to the stud and need to create a larger hole for drywall anchors. For most safety bar installations, a 1/4″ bit for screws and 5/16″ bit for drywall anchors is good (this fully depends on the size of the anchors you’re using). With your drill in hand and the right sized bit for the job, start drilling on your mark slowly. If your drill has a lower speed/torque setting I would recommend using that setting to keep things nice and slow. Also to mention is the amount of pressure you put on the drill. Keep the pressure firm, but not hard and let the bit do the work. This will prevent or lessen the likelihood of the tile cracking. You will know when you’ve drilled all the way through the tile and hit the drywall because the drywall will feel softer. At this point, you can replace the tile bit with a standard drill bit slightly smaller than the screw you will be using. This is to predrill for the screw. You don’t have to do this, but to make sure you don’t split the stud if you are driving a screw in near the edge of the stud. If you were able to center the shower safety bar on the center of the stud and drive a screw at the top and bottom of the safety bar that should be enough holding power. It is a good idea to use stainless steel screws to prevent them from rusting. Thanks for reading! Let me know if you found this information helpful by commenting below. If you have a small home repair project like this feel free to book online at the top of this page and book a service appointment. We look forward to hearing from you!
Shower Safety Bar Installation was last modified: June 10th, 2025 by
Categories:
